Yes, it was about time that my humble little blog had a makeover.  I am actually surprised that I kept the previous design so long!  So unlike me. 🙂  Anyway, I finally developed a new logo (since hand lettering/brush lettering and watercolor are kind of my obsession) and whipped up some fun, coordinating elements to create a clean, fresh space for my little creative musings to reside.  I hope you enjoy it!  Feel free to click around and see what’s here!

![]()
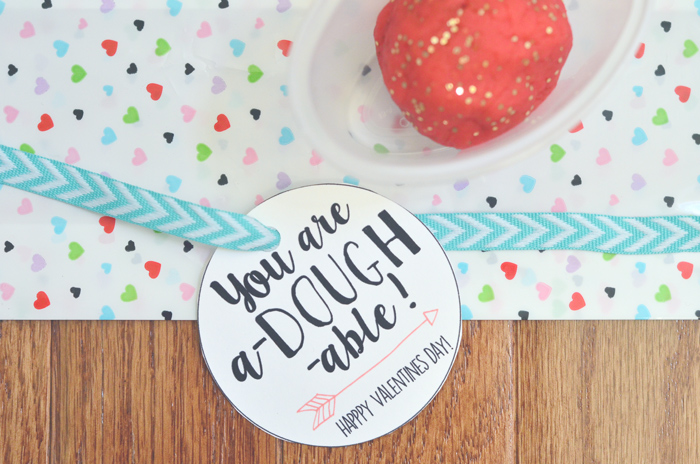
AND because Valentine’s Day is right around the corner I wanted to get something ready for little man’s class!  Since I’m not a huge fan of candy/sweets, I wanted to give the kids something that was a non-edible treat!  I love to make playdough for our clan, so why not make some for all his little friends?!  Creating the tags is part of the fun for me, so I designed some with a hand-lettering feel (scroll to the end of the post!).  Combined with Target $1 finds like cellophane bags and ribbons, (and some little inexpensive snack conainers) it’s pretty inexpensive too!
There are lots of playdough recipes out there – none of which are original, as far as I can tell – so I’ll just share here my favorite one (modified the way I like it)! Â You will love that this is so quick!
Soft Playdough (that will last 6+ months!):
1 c. flour
1/4 c. salt
2 tsp. cream of tartar
1Â Tbs. palm shortening (or other oil)
1 c. water
Food coloring
(a few drops of essential oils, like peppermint, orange or lavender — optional)
(glitter – optional)Directions:
I put the water, salt and oil in a pan on medium heat and let the salt and oil melt into the hot water before starting to add the flour and cr. of tartar.  Stir it all until it starts to form a sticky ball!  Remove from the heat and place the dough on some parchment paper and let cool.  Knead the dough until it’s a soft, smooth consistency.  Add food coloring and work into with your hands (wear gloves if you don’t want them stained!).  In order to make enough for these 16 little containers, I needed to make 2 batches!
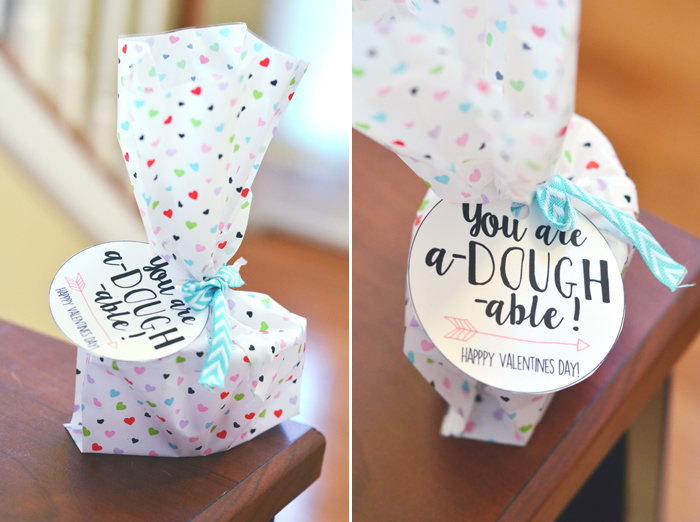
I divided the dough and sealed in the snack containers, threw them in the cellophane bags and tied them up with the ribbon & homemade tag.  Easy!
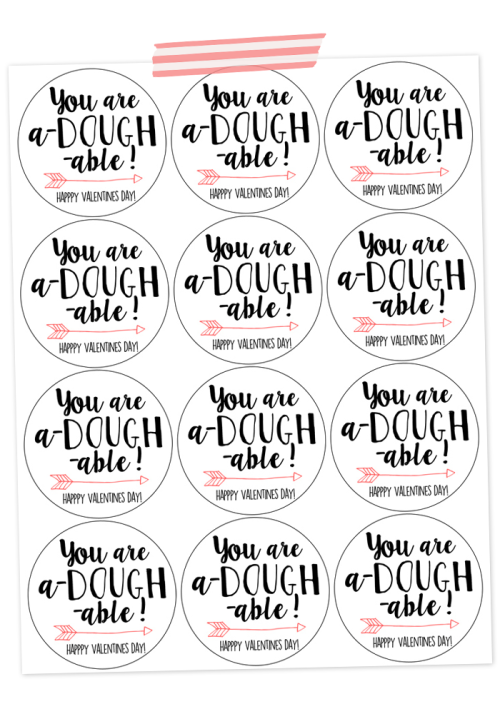
I am including the printable tags if you want to throw together a last minute playdough Valentine as well~! Â Click on the image to download… print and cut out! Â Put a hole punch through the top of each tag and you are all set to add to your project.
 Happy Valentines Day! XO